

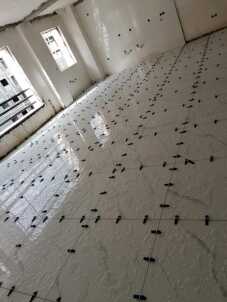
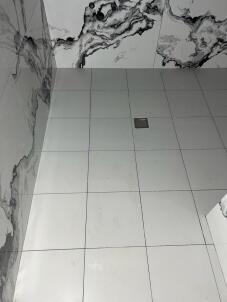
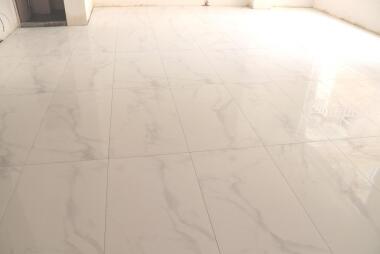
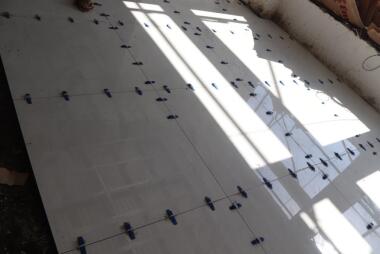
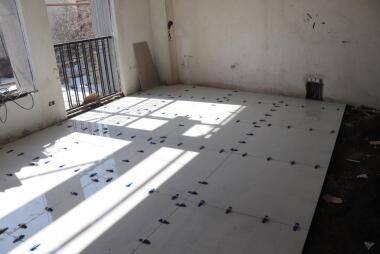
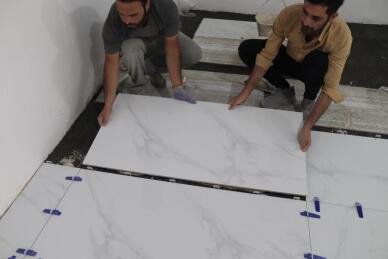
Using tile levelling system allows a precise levelling of tiles (especially in large-sized ceramics, which is more difficult to even the edges). In addition, it creates a neat and strait grout lines between the tiles. This product can be used for floor ceramics as well as wall ceramics.
The tile leveling system is easy DIY for novices to lay professional- level tiles. It also interlocks the tiles and therefore gives you a smooth and flat surface after the adhesive dries.
The tile leveling system is easy DIY for novices to lay professional- level tiles. It also interlocks the tiles and therefore gives you a smooth and flat surface after the adhesive dries.
Product features

Improves speed of tile laying

To elevate the edges of adjacent tiles

High efficiency and accuracy in tile laying.
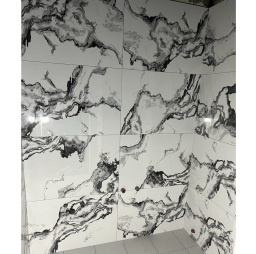
Gallery

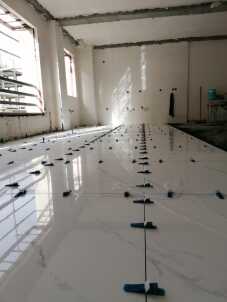
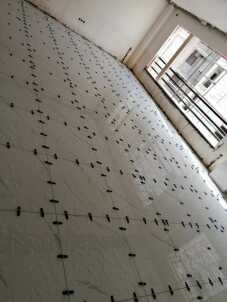
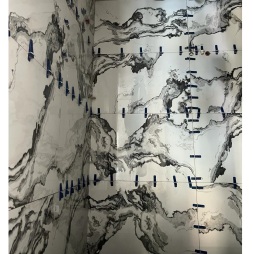

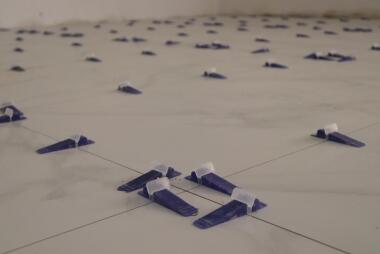

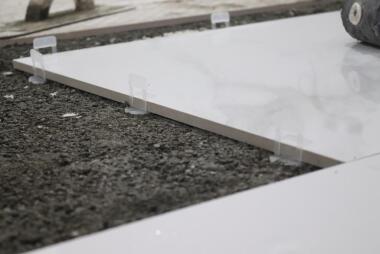

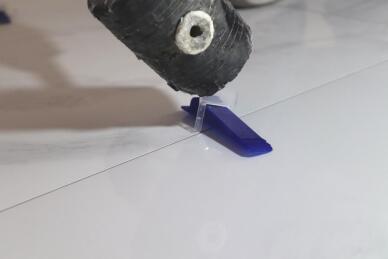
Our sturdy reusable wedges hold tiles firmly in place. Our tile leveling system ensures flatness between tiles avoiding movements during the mortar setting. The teeth on the upper side of the wedges firmly fixes the tile while the 1-, 2- and 3-mm thicknesses embedded in the tip of the wedges enables our system to be used on tiles with different thicknesses. Placing the wedges inside the clips under the proper tension removes any shifts or bumps during the installation process.
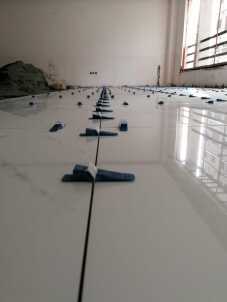
When the wedge is placed inside the clip, under proper tension, it creates a smooth surface.
When the wedge is placed inside the clip, under proper tension, it creates a smooth surface.
Wedges

Clips
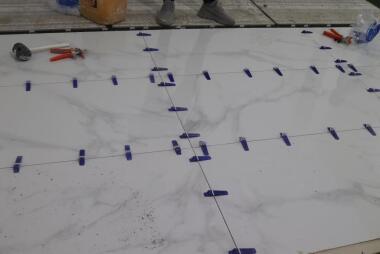
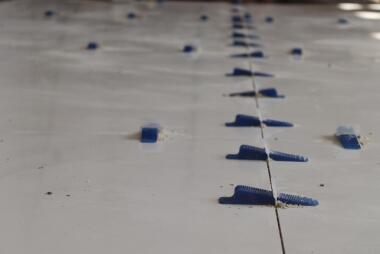
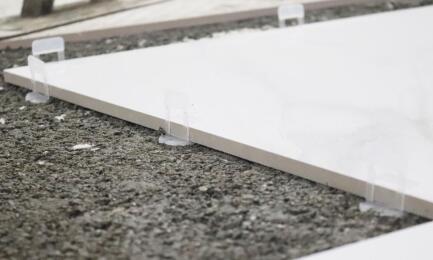
Our high-quality clips can align tiles with a thickness of 8-16 mm. Clips with a joint width of 1mm are available. This product ensures that the tiles are perfectly level with no lippage or exposed edges. Our clips which can be used for both floor and wall tilling give you even gout lines which leaves you with a symmetrical finish.
Products
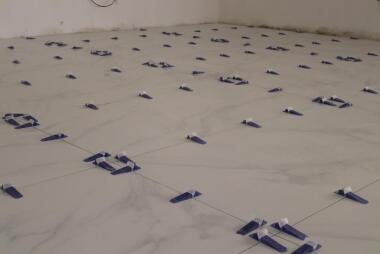
Tile levelling system was designed and developed due to the need to reduce costly mistakes in tile laying which results in misalignment of tiles and lippage in high-end installation. Using tile leveling system ensures a perfectly smooth and flat surface on both wall and floor while and after the adhesive dries.
Our tile leveling system kits include three pieces: clips, wedges and cross.
Our tile leveling system kits include three pieces: clips, wedges and cross.
How to use
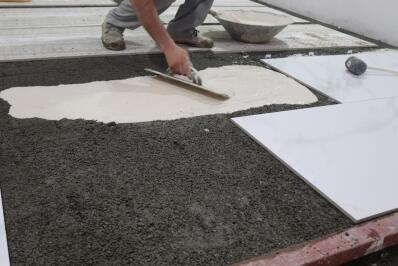
Start by spreading and combing the mortar based on the manufacturer’s instructions. Remove the excess mortar from the edges of the tile and the surface using a trowel.
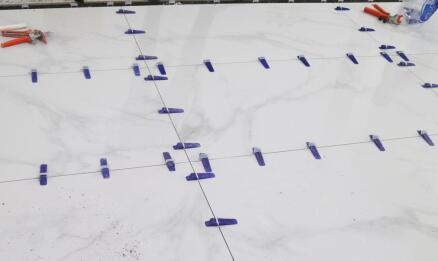
Insert a spacer clip under a tile to achieve a consistent grout joint spacing. Use the table below to calculate the numbers of clips that you need based on the length and width of the tiles being installed. Experientially, you will need to insert one clip in every 20 cm.
place the second tile on top and against the clips of the previously installed tile.
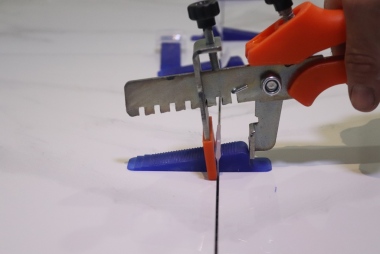
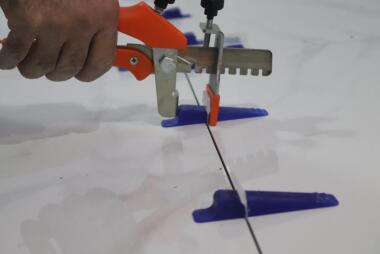
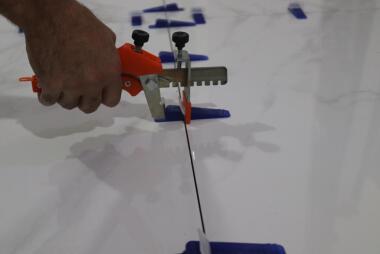
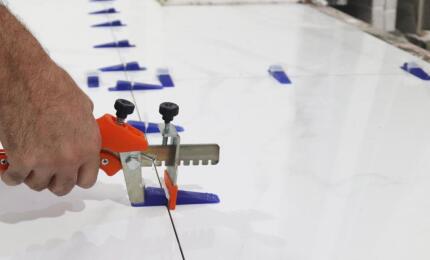
Insert our reusable flattening wedges into the clips in order to secure, align and flatten adjoining tiles. A special Plier is recommended
After finishing the installation allow the setting materials to cure for the time recommended by the manufacturer.
Once it’s dried kick the clips (not the wedges) with foot or a plastic hammer alongside the grout joints to remove them from the surface.
How To Work
Clips & Wedge?
Clips & Wedge?
ABOUT US
Talash sanat navid arya production group with more than 10 years of brilliant experience in the industry of manufacturing and producing innovative products is working as one of the most prominent names in this field. Since the establishment of our commitment and efforts to improve processes, services and Improving the quality of products by using the latest technology makes us a reliable reference and one of the best choices in the production industry
has become
has become
Frequently Questions
How many clips and wedges are needed to implement the project?
How can I get this product?
Can clips and wedges be used for the wall?
contact us
Call
021-46012394
0912-4109957
0912-4109957
address
Tehran - SATARKHAN
E Mail
Plusnovelty.it@gmail.com